⭐⭐⭐⭐⭐
Very Reliable
Always fast response to enquiries and very helpful. Good Service.
Mark, Tercon Ltd
You can achieve many different finishes with our product range when rendering on brick or concrete walls. Our scratch finish uses fewer steps than most to create the finished look, making it a quick and simple system to use.
Below is a step-by-step guide to achieving the ideal finish.
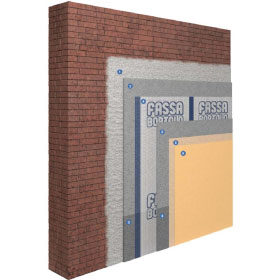
Often when applying onto brick or concrete, an undercoat is needed to prep the walls. SP22 is recommended when the surface is uneven, broken or dusty and needs that extra adhesion. SP22 is a cement-based slurry that that should be finished in a stippled effect.
Basecoats level out, reinforce and create a smooth surface for your finish to be applied. All the basecoats we supply can either be sprayed or hand-applied using a trowel. We offer a range of basecoat options that should fulfil any need.
MS20 while comparable to sand & cement OCR, differs in the fact it can be applied more easily and is made with higher quality ingredients. If you are looking to switch over from the ‘old ways’ and to try something new, then we highly recommend using MS20.
KC-1 is similar to MS20 but contains hydrated lime. This makes it easier to work with during application and gives a higher bond strength once dry. These factors make KC-1 a perfect blend of quality and cost, giving you a great mid-range basecoat.
KI-7 a fibre-reinforced lime/cement basecoat is everything and more when it comes to a masonry OCR. KI-7gives the highest level of workability, adhesion and quality finish of work for any masonry application. The water-repellent properties in this product add extra security.
While wet embed Fassanet 160 into the surface of the basecoat. Fassanet 160 is an Alkali-resistant fibreglass reinforcing mesh that is easy to cut and will not fray, making it superior to standard render meshes. It is important to use a mesh when applying a thin-coat finish, as the mesh will to not only reinforce but will help to stop the surface from cracking.
Whether you have chosen to use MS20, KC-1 or KI-7 as the basecoat, apply a second thin slurry of basecoat over the mesh, this levels out your surface and stops the mesh from showing through.
Once cured, apply FX526 pigmented primer undercoat. FX526 can be tinted in up to 365-colours and is applied before the use of Fassa paints or topcoats. Mix with a little water and paint on to create a uniformly coloured surface to help prevent the basecoat from showing through and creating a patchy look.
The final stage in this system is applying a silicone topcoat. RX561 comes in a 1.5mm grain and can be tinted in up to 365-colours. Not only does applying a Topcoat finish have decorative purposes, but it is also great for protecting the surface of exterior facades.
Before using any Fassa Bortolo products or systems, we always advise checking the data sheets available on our website.

 Blockwork with Topcoat Finish
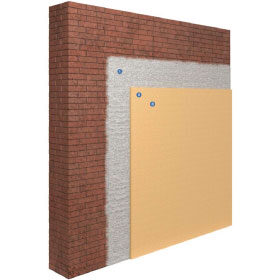 Blockwork with Scratch Finish
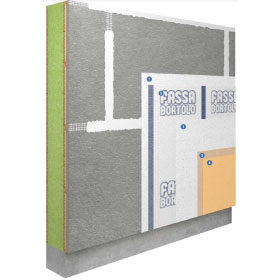 Render Carrier Board with Topcoat Finish
 Render onto Painted Surface
 Mixing Tools
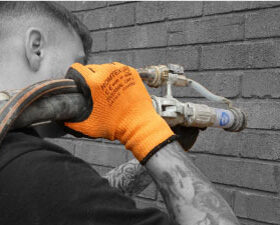 Rendering Guns
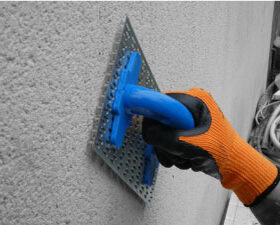 Scratch Tools
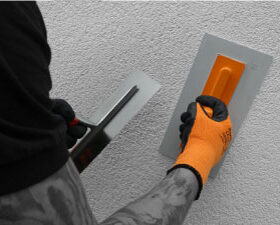 Trowel & Skimming Tools